Favor tags are a great way to personalize your wedding or party favors and can include a little thank you message or something cute that goes along with the theme of your favor.
Here at Raspberry Creative, we’ve been selling pre-made, ready to use favor tags in a few different styles and a number of fun designs for several years and our customers love them!
Affiliate Disclosure: Raspberry-creative.com is a participant in the Amazon Services LLC Associates Program, an affiliate advertising program designed to provide a means for sites to earn advertising fees by advertising and linking to Amazon.com.
If you are looking to create something for your wedding or event and have thoughts of DIYing them yourself, they are pretty easy to do if you have the right tools. Today we’re sharing how you can DIY favor tags at home with all the steps and resources.
Let’s get going!
What you need:
- The perfect favor tag design (shop our favor tag templates to find the perfect design)
- Cardstock (great for printing at home)
- Printer (we love this one for easy, affordable at-home printing!)
- Scissors
- Large Paper Punch in choice of shape (1.5″ Round, 2″ Round, 2″ square, Scalloped Circle, Marquis)
- Regular hole punch
- Twine or Ribbon for tying
Before we get into the instructions, let us first discuss a few things about your supplies.
Tag Design Template: When purchasing a favor tag template, be sure to read the dimensions of the artwork file. Because Templet does not allow you to change the size of your file, it is important to know that before purchasing the larger punch so that you can be sure everything will fit and line up properly.
Cardstock: The weight of cardstock you use will depend on how you plan to print them. For most home printers and office supply stores that offer printing, a medium to light weight cardstock will work without issue and won’t be too hard to punch with your shape punch once printed. We recommend a 67lb or 80lb cardstock or 110lb index because it works for most home printers and is easy to punch. Here are a couple of our favorites:
*A Note about paper color: Consider your favor tag design when selecting your paper color. Tags with a lot of color and/or light colors will not print well on kraft or other colors of paper. Stick to white or cream for most designs. If you do go with a colored cardstock, make sure your design is all black or all very dark colors for the best results.
Large Paper Punch: We have tested several brands in the studio for you, and by far the EK Tools are our favorite. (see links above) They cost a bit more but are more substantial and stay sharp. We also really love all the shapes and sizes they are available in. From square to round, to scalloped circles and more. You are sure to find something perfect for your favor tags.
How to DIY Favor Tags at Home from Favor Tag Templates
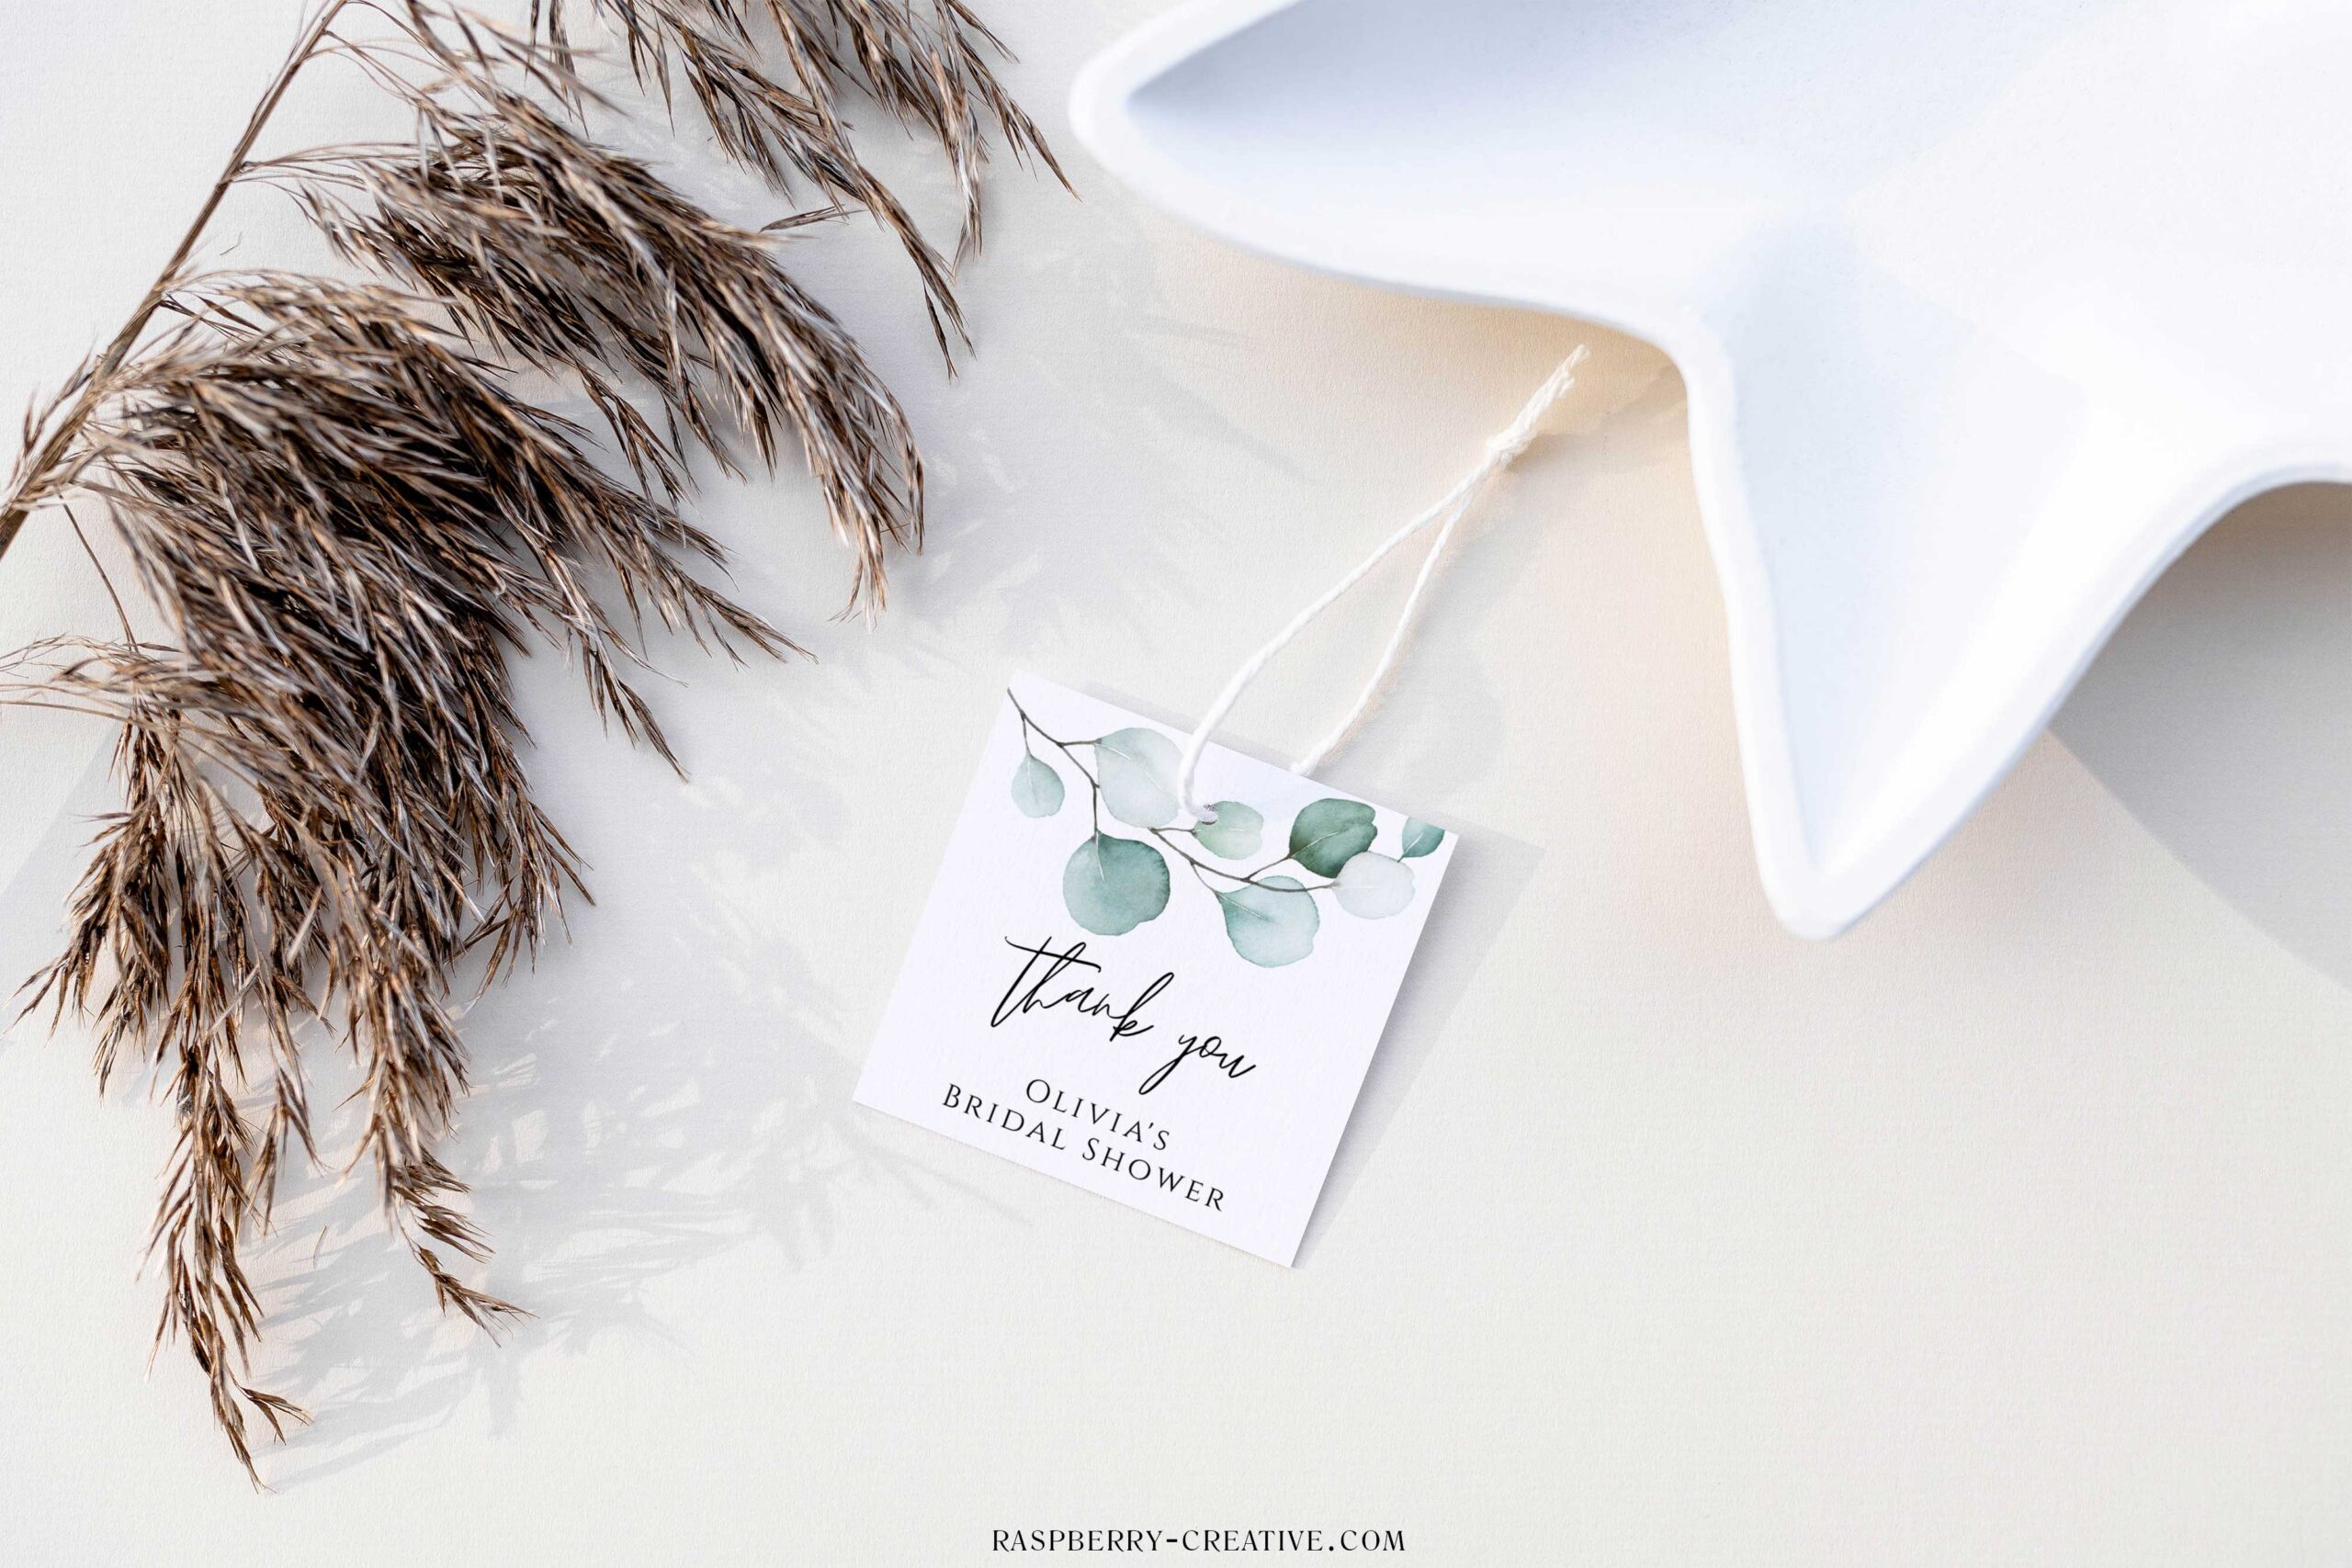
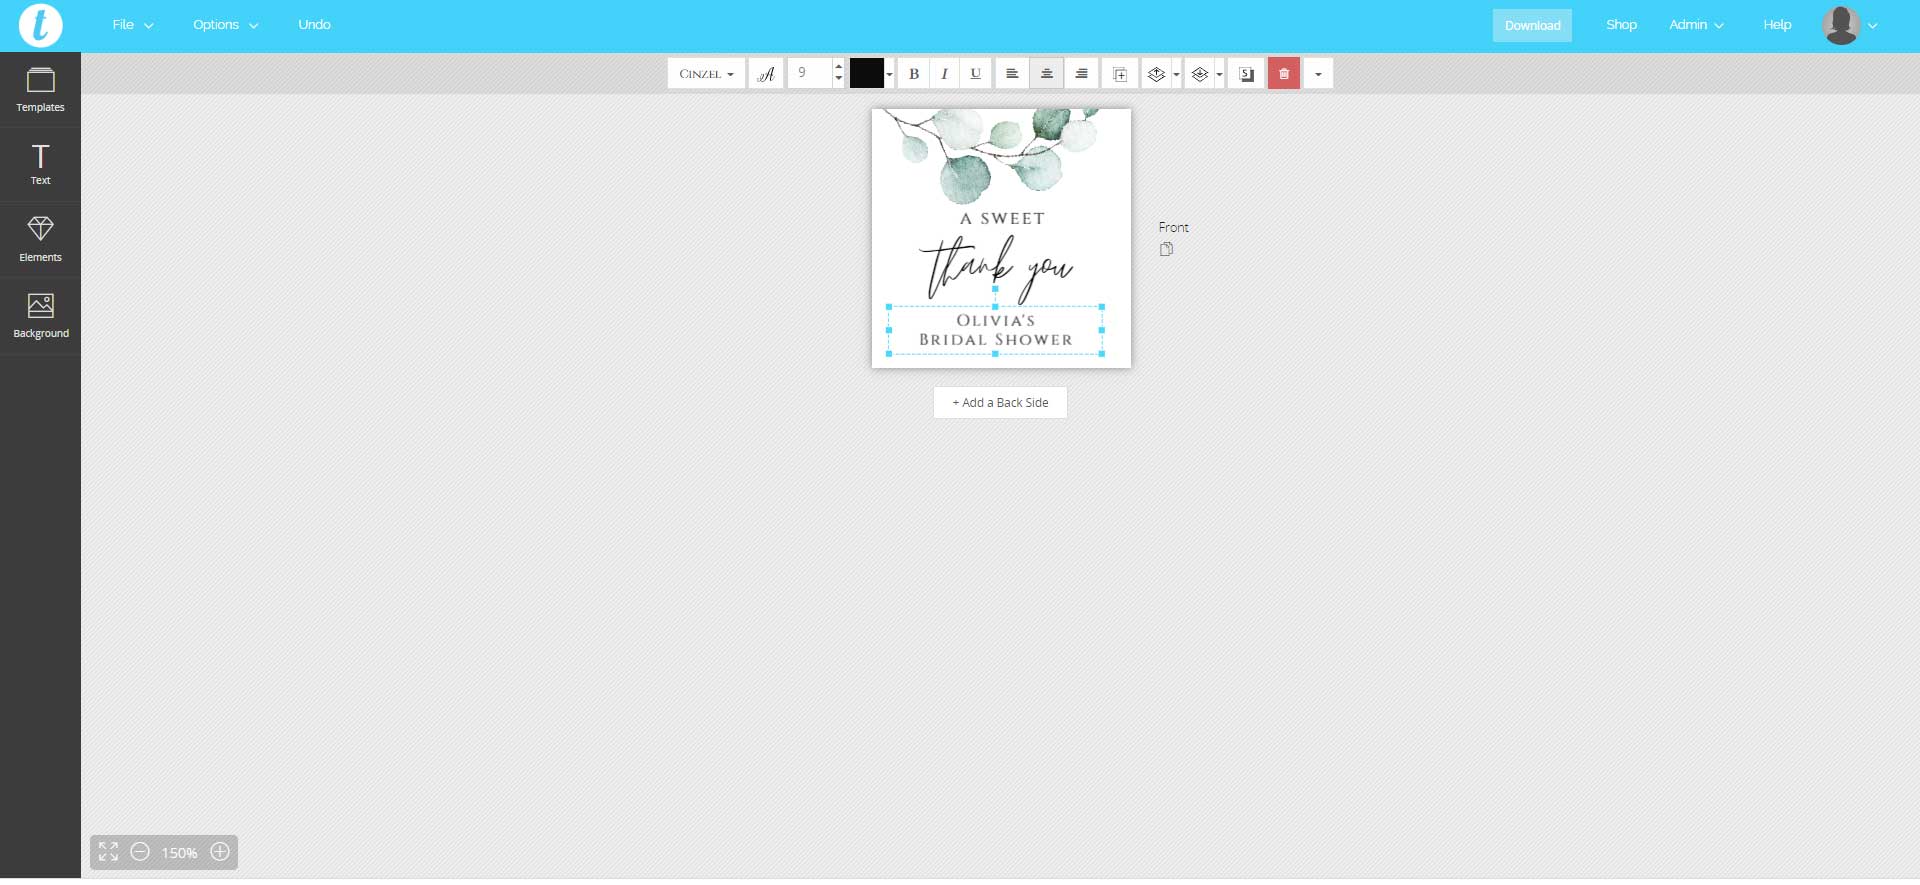
Find the Perfect Favor Tag Design for your Event
Browse the available favor tag templates in the shop, making sure to check the dimensions of the file. Remember, the size of the file cannot be changed so you’ll want to know the size when you are ready to pick your punch. Most of ours have been designed to work on a 2” round or square punch or the vintage tag punch depending on shape.
If you prefer not to use a punch, you can also cut most with scissors or a rotary cutter into square or rectangle shapes without much effort.
Once you’ve found the perfect design, purchase, edit and download your file.
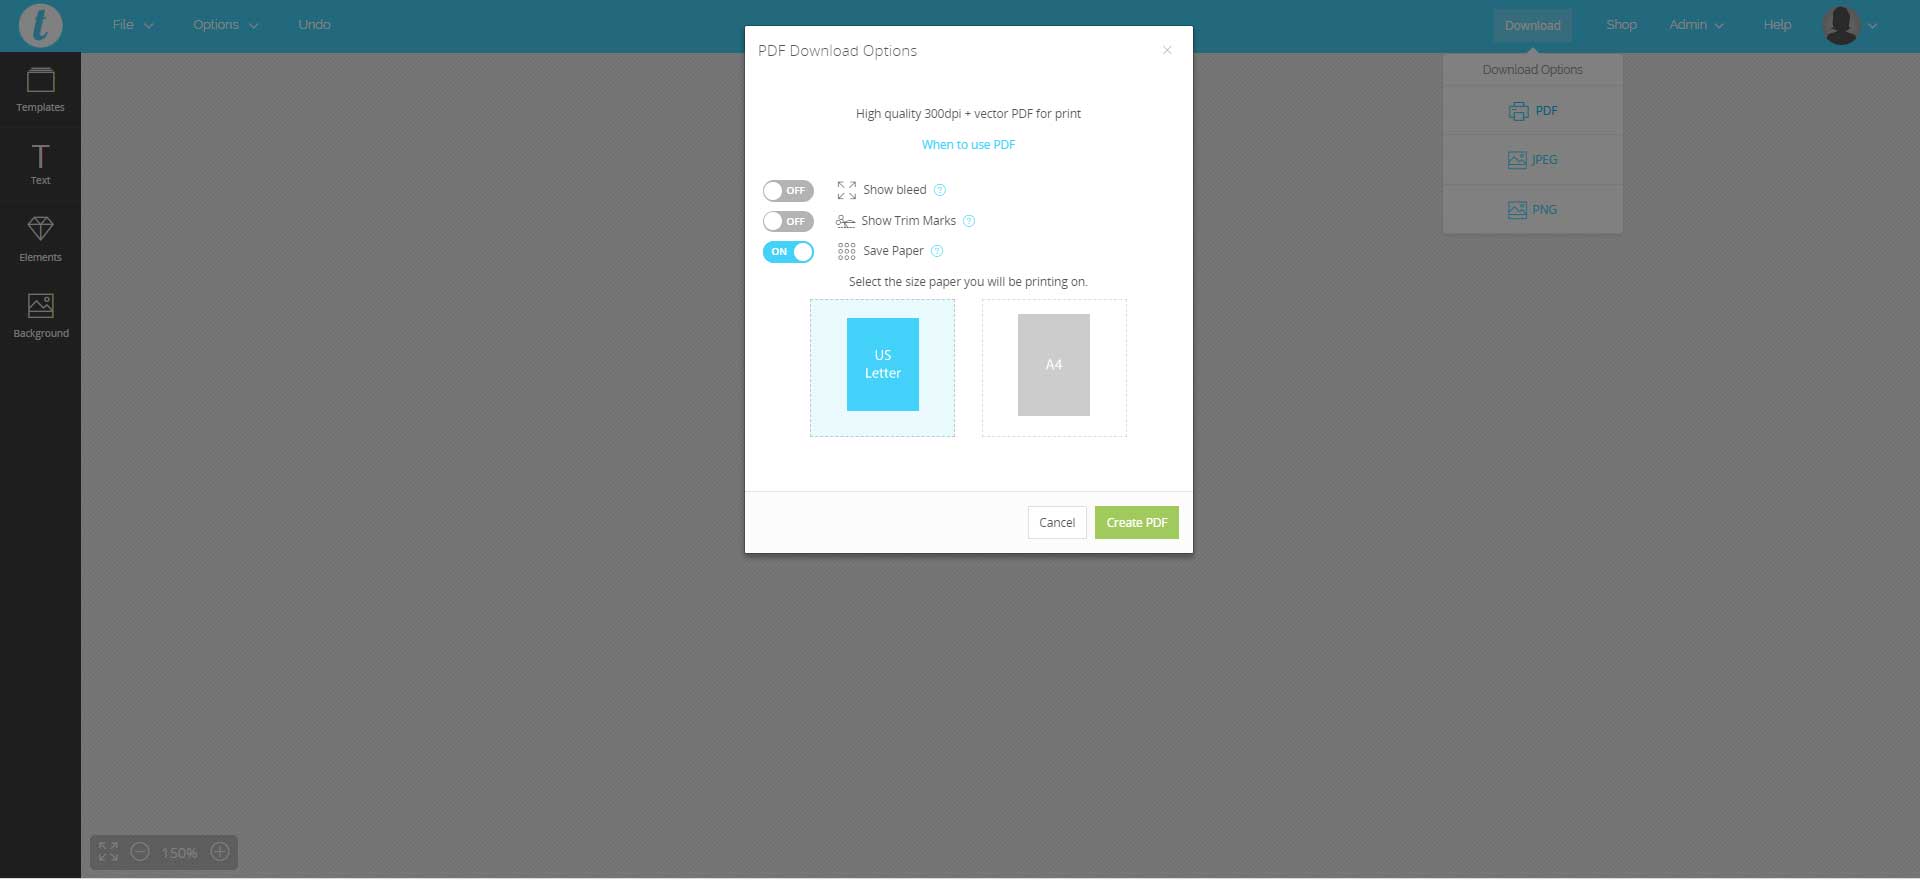
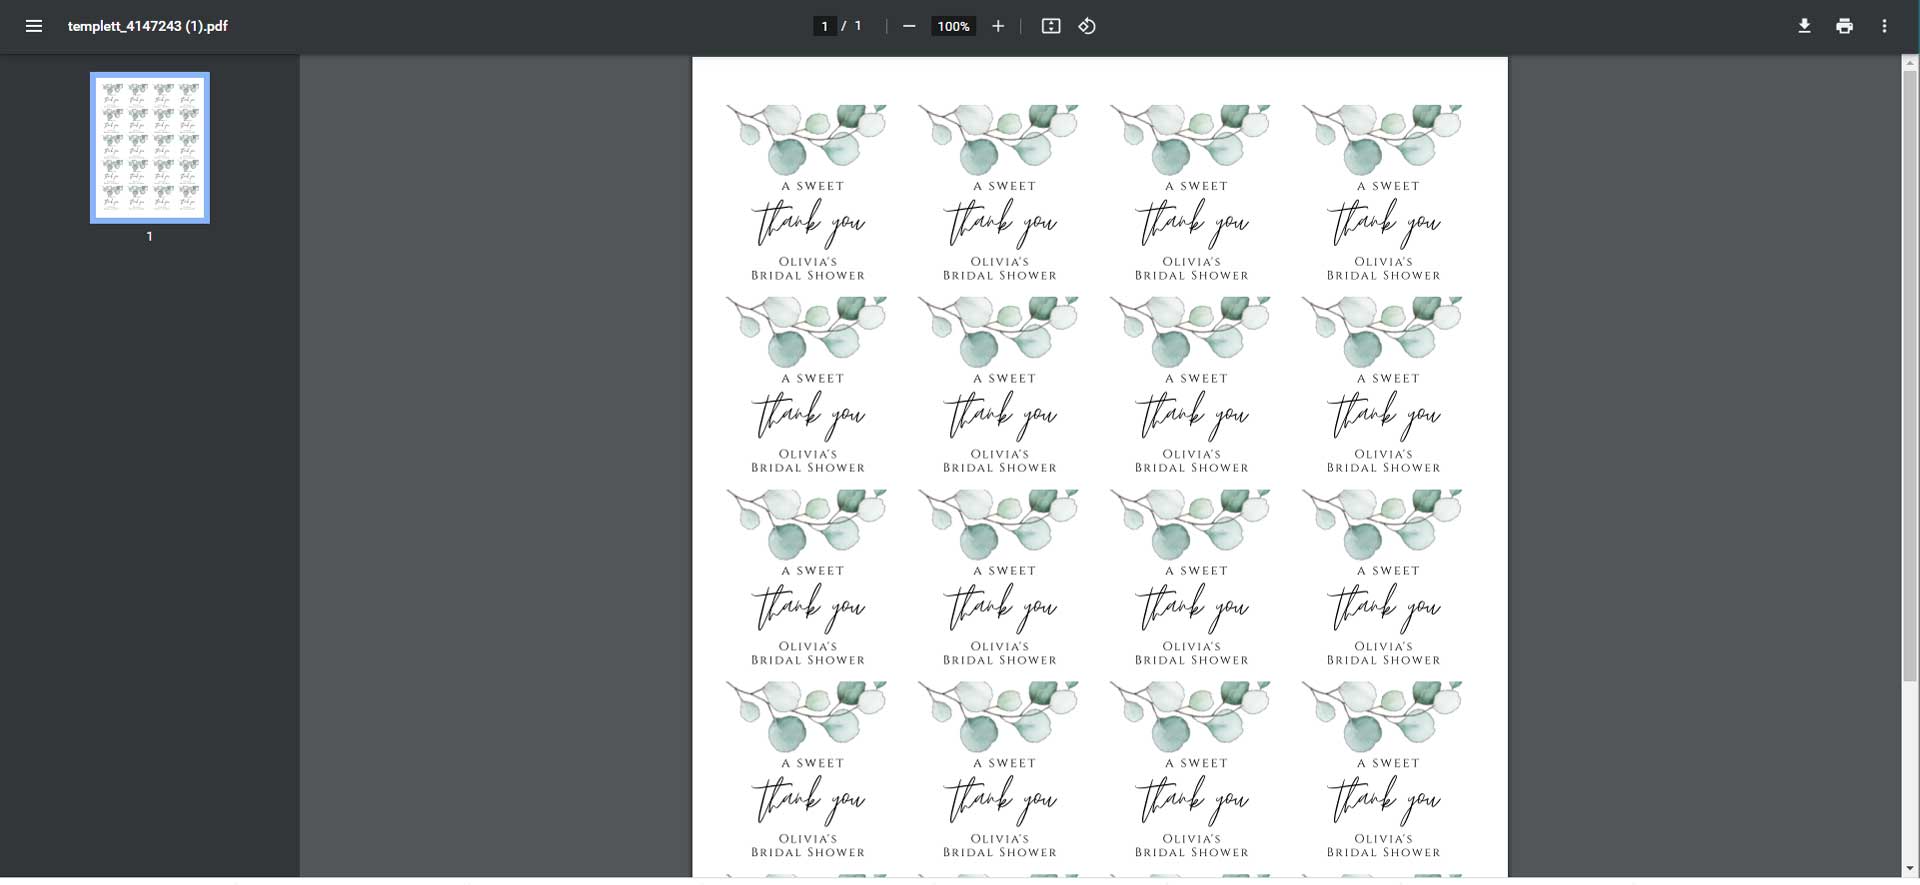
Print at home or at a local print / copy shop.
Using our recommended medium or light weight cardstock suggestion, you can print your downloaded file at home or at a local copy shop. When downloading, be sure to select “SAVE PAPER” and download as a PDF for best results. If you plan to cut your tags with just a rotary cutter or scissors, you can also select “trim marks” which will give you a guide on where the cut lines are.
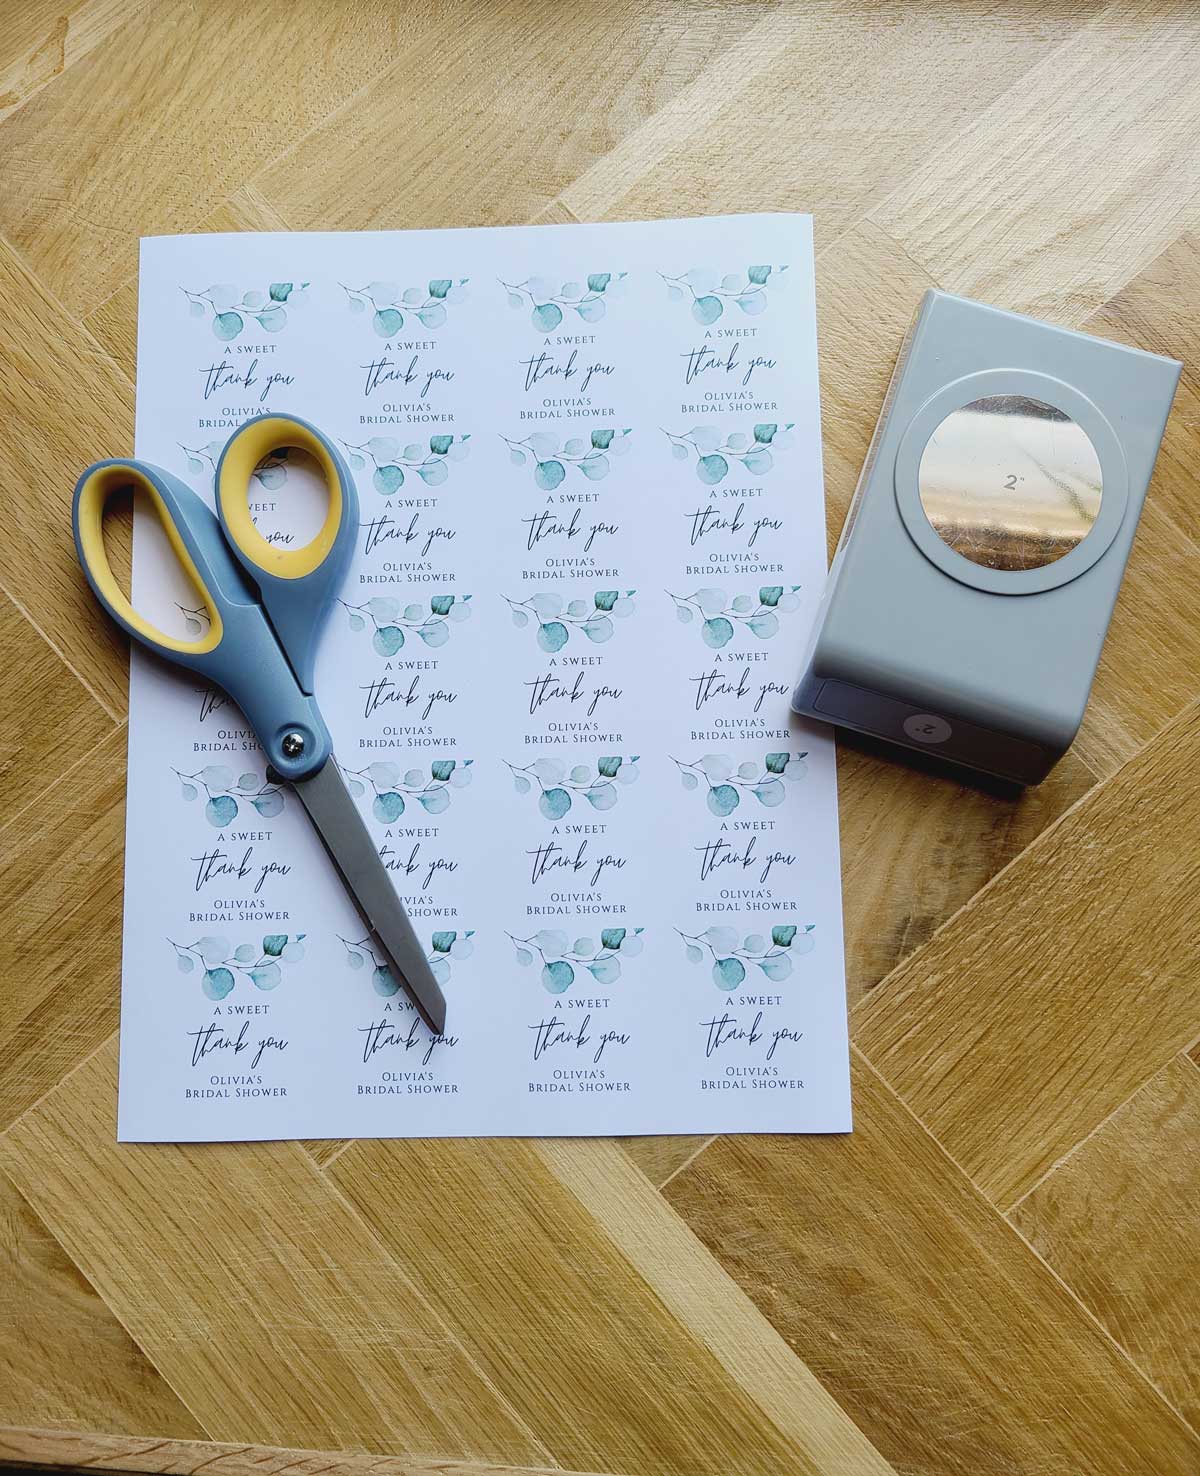
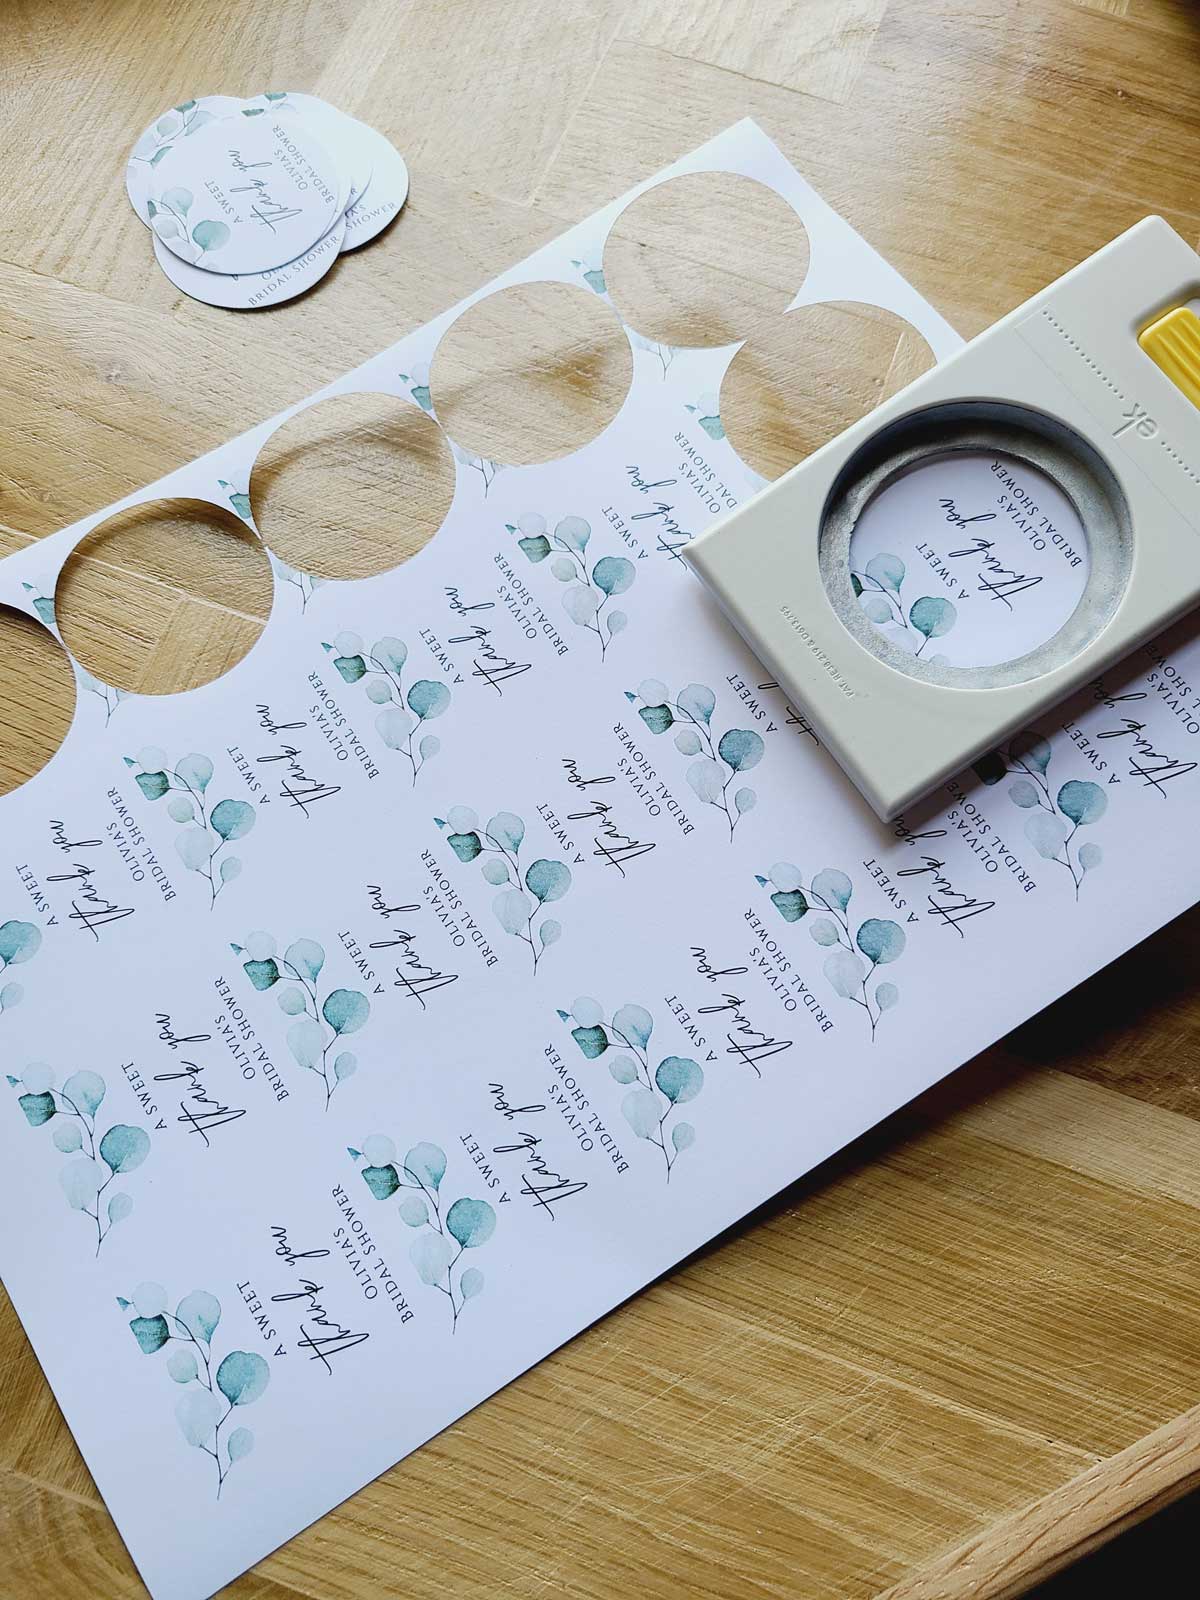
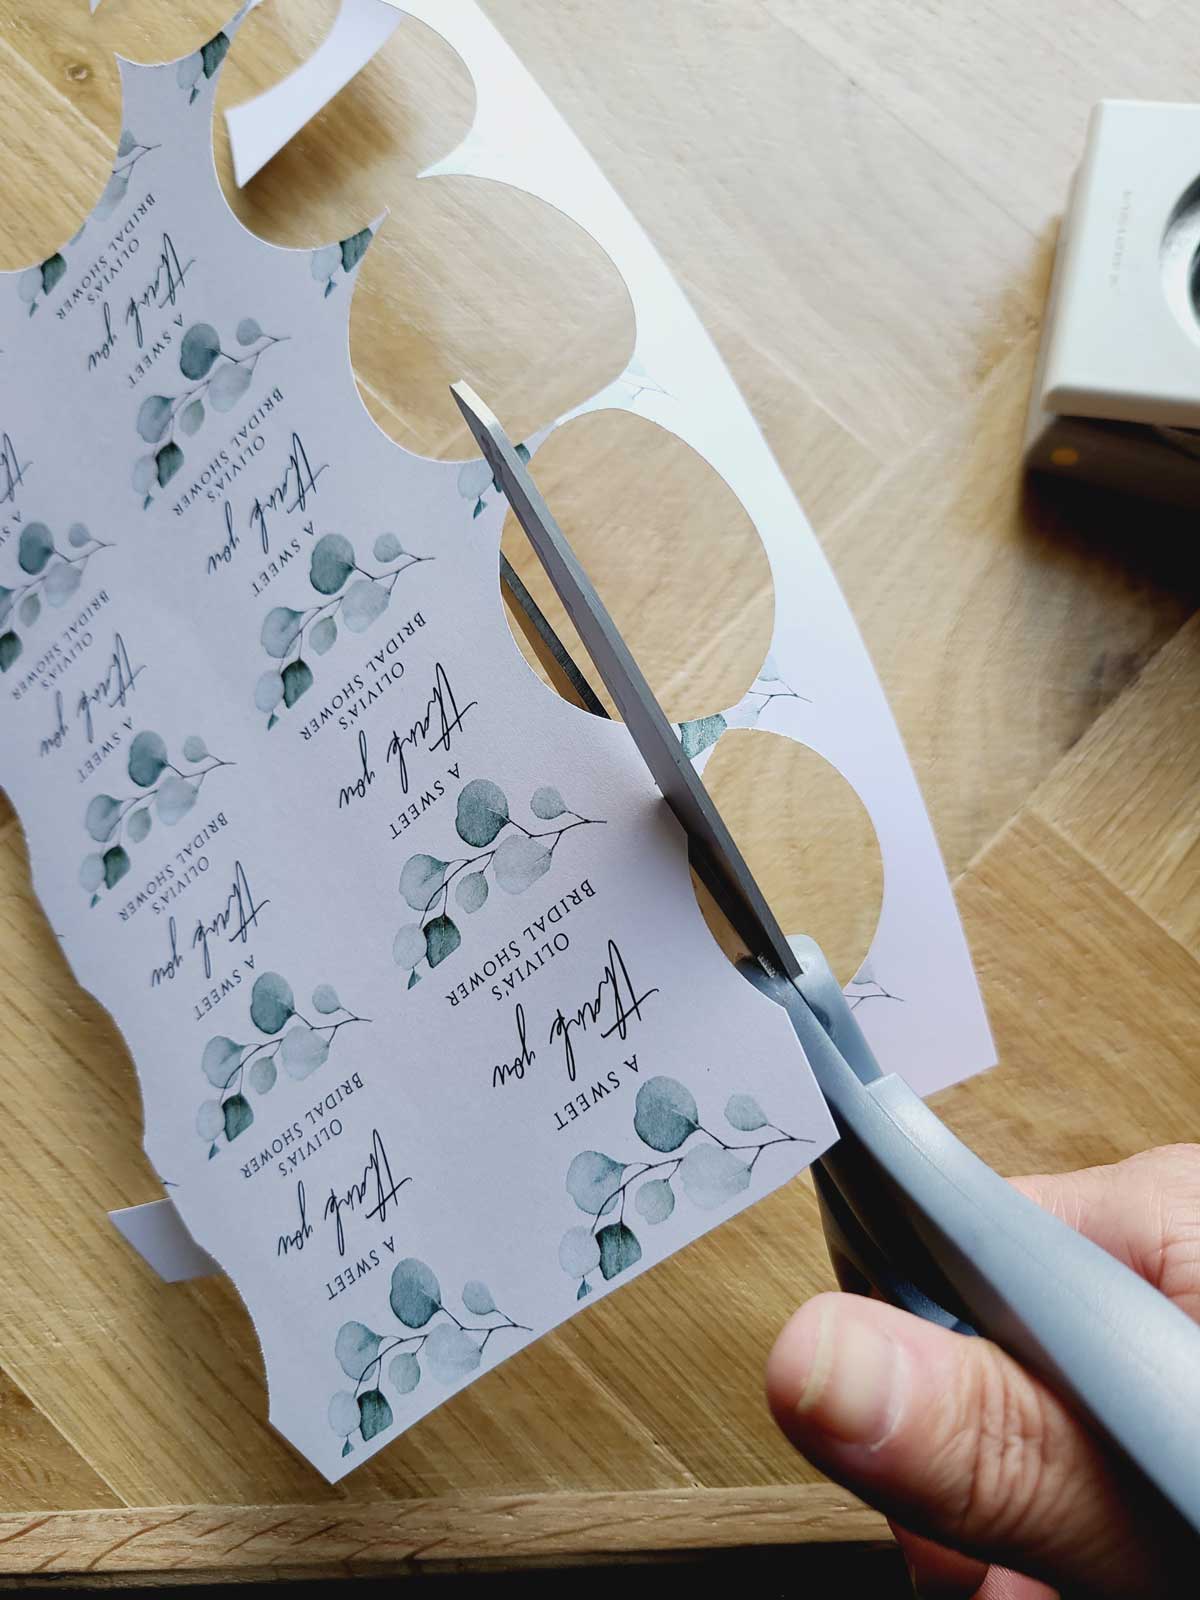
Cut your Shapes
With your tags printed several to a sheet, it’s time to cut out your shapes. If you are using a punch, grab your punch and some scissors. Starting on the outside, cut your tags all the way around the outside of your sheet.
When complete, using your scissors to trim off the waste, being careful to not cut too close to your next row of tags.
Then continue the process around again until all your tags are complete.
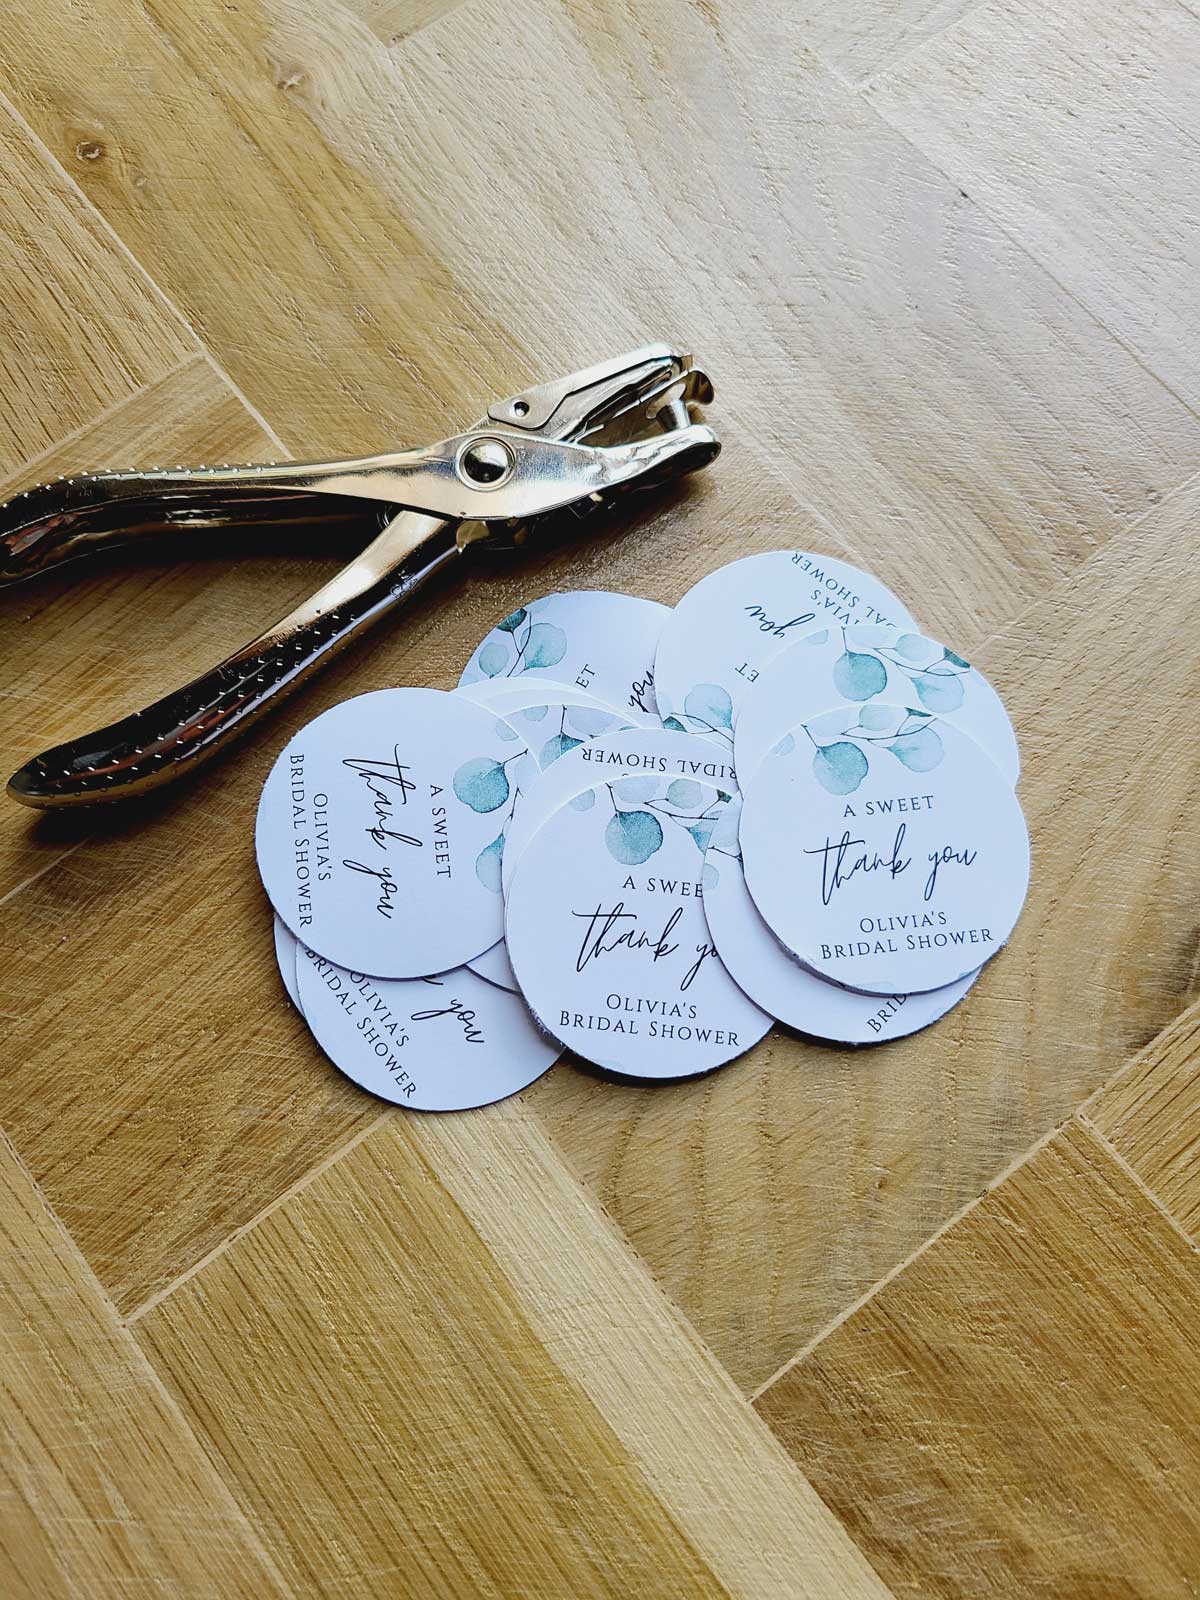
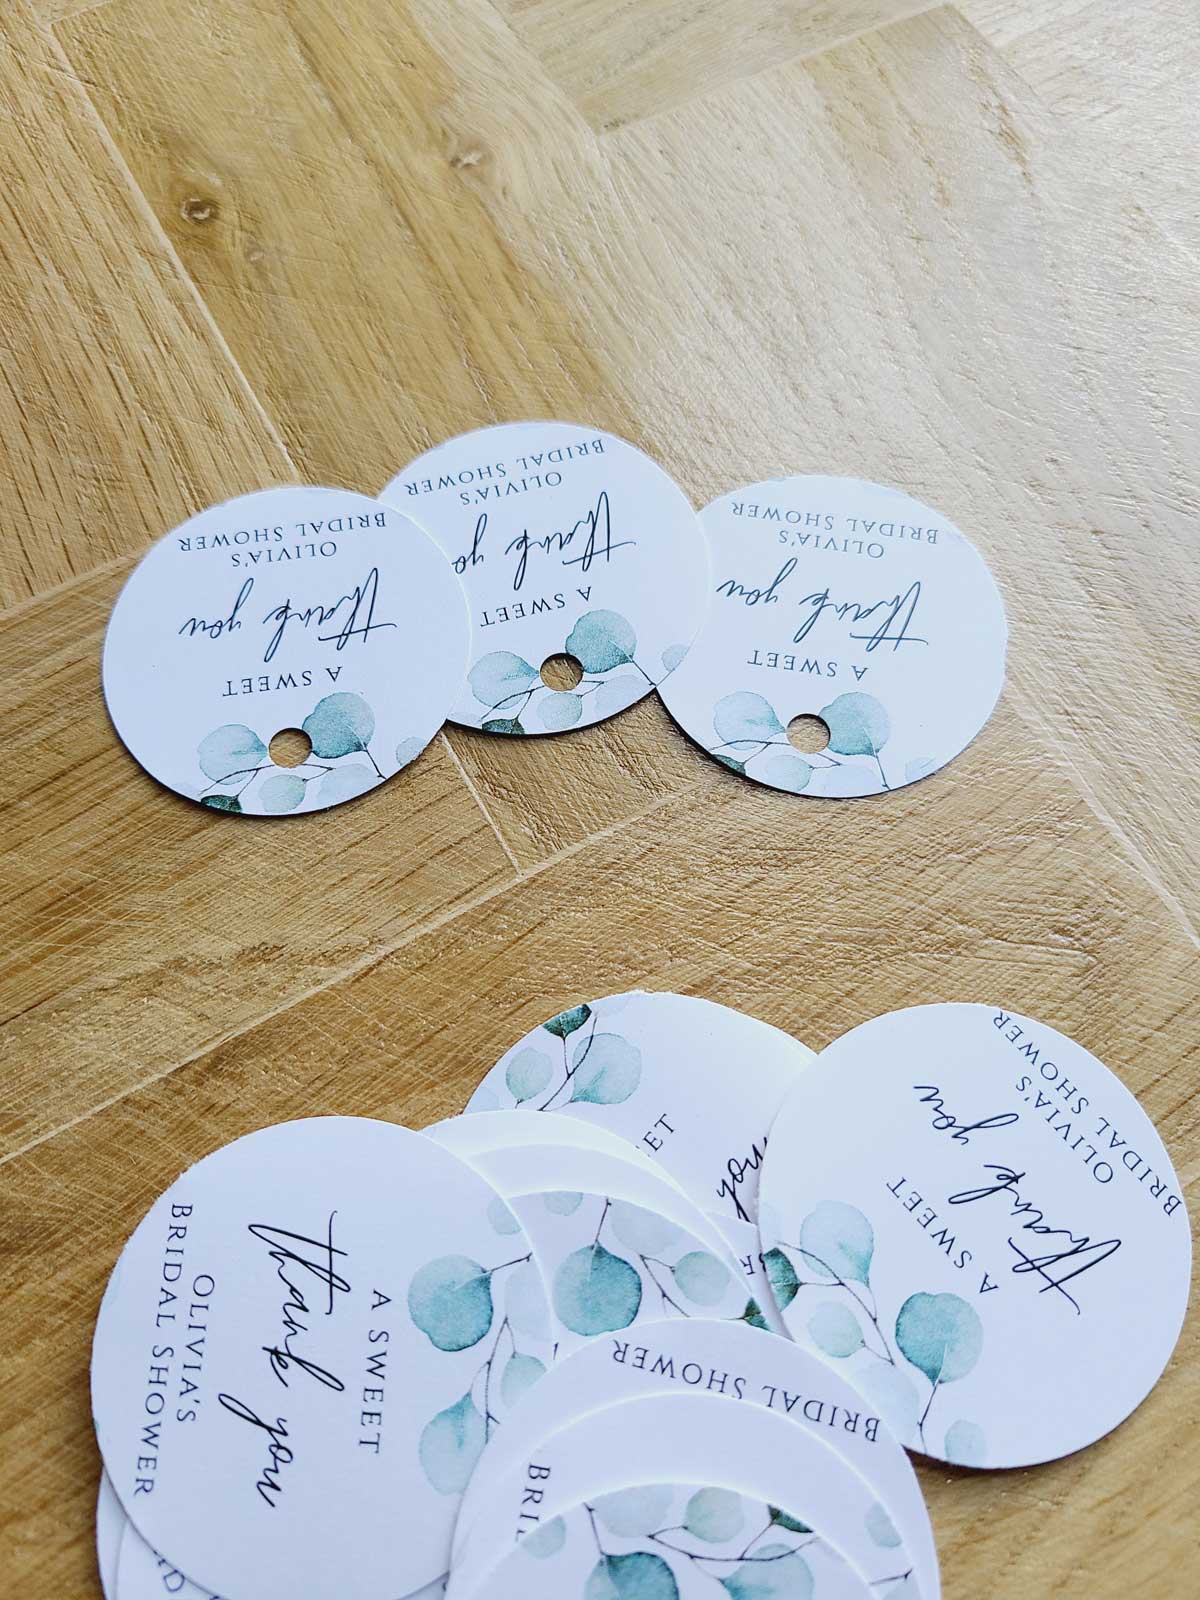
Add your Hole at the top.
With all your tags cut, it’s time to add the hole at the top for your ribbon or twine. For 2” tags, a standard hole punch works great. Simply punch each tag toward the top center. Make sure your hole is far enough in that it won’t be easy to tear through but not too far in that it cuts into your text or design.
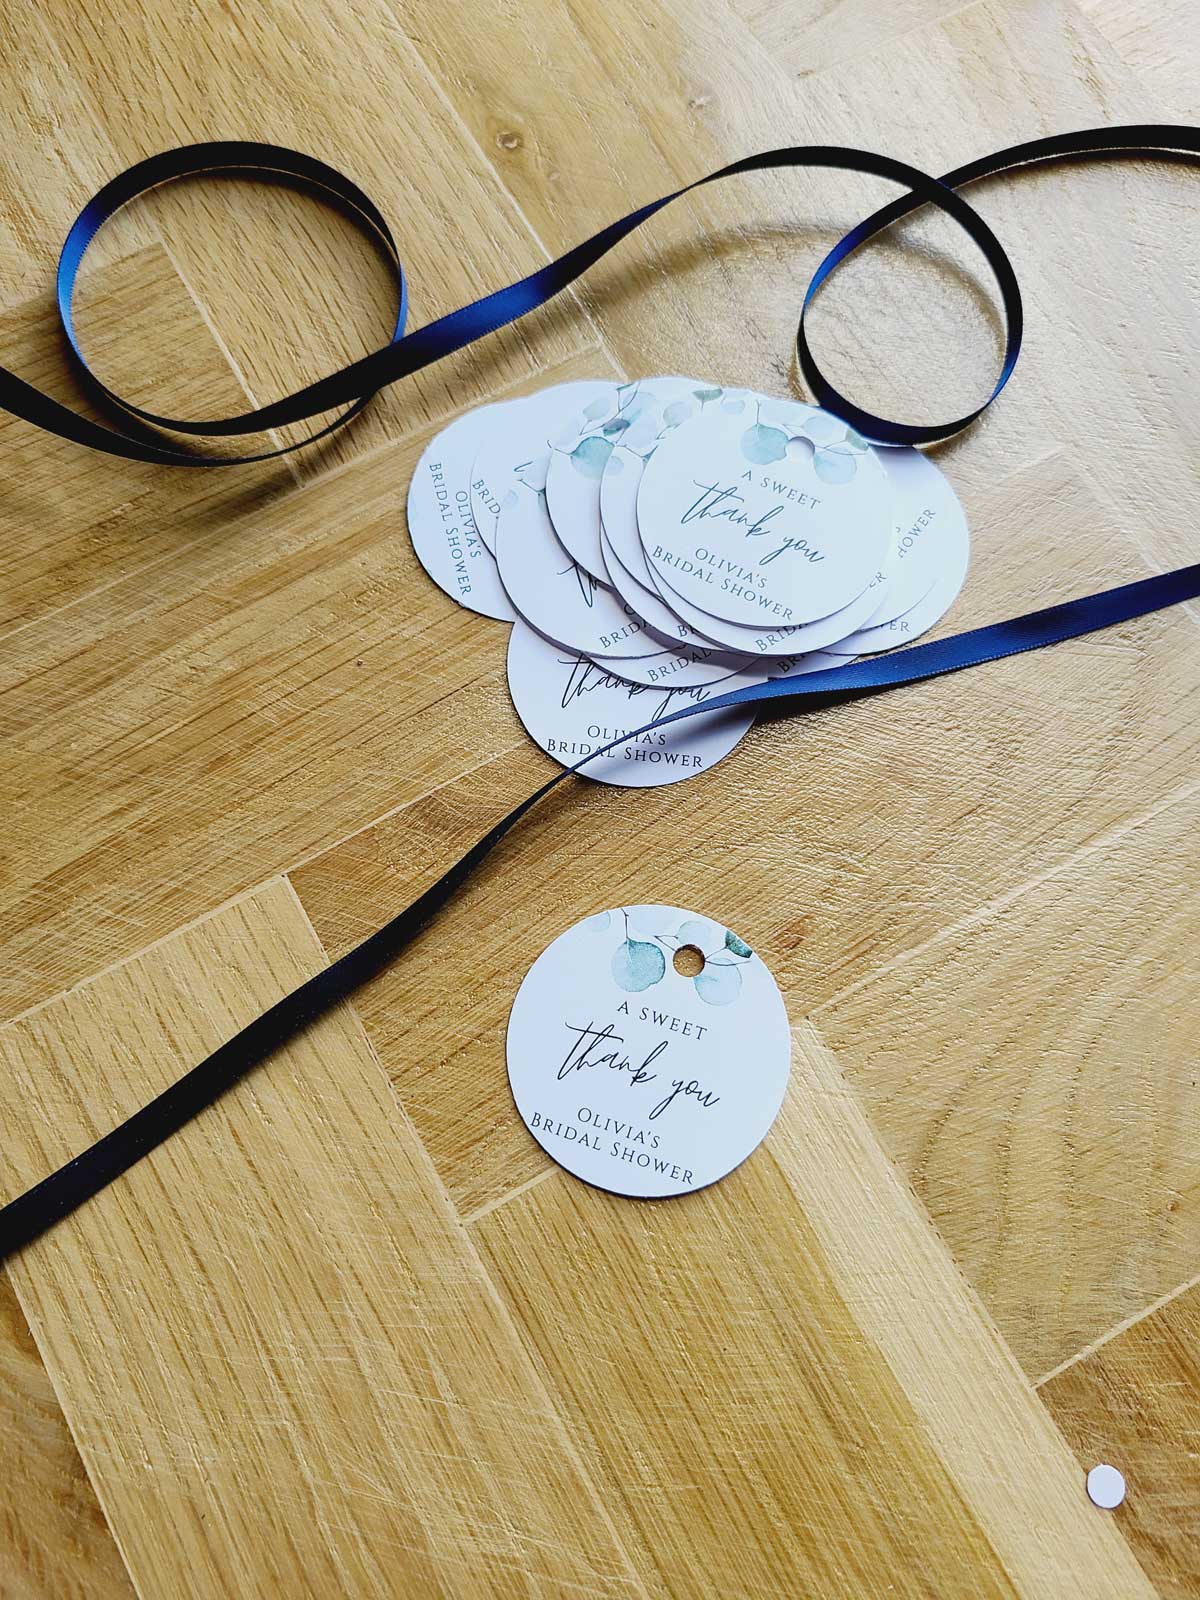
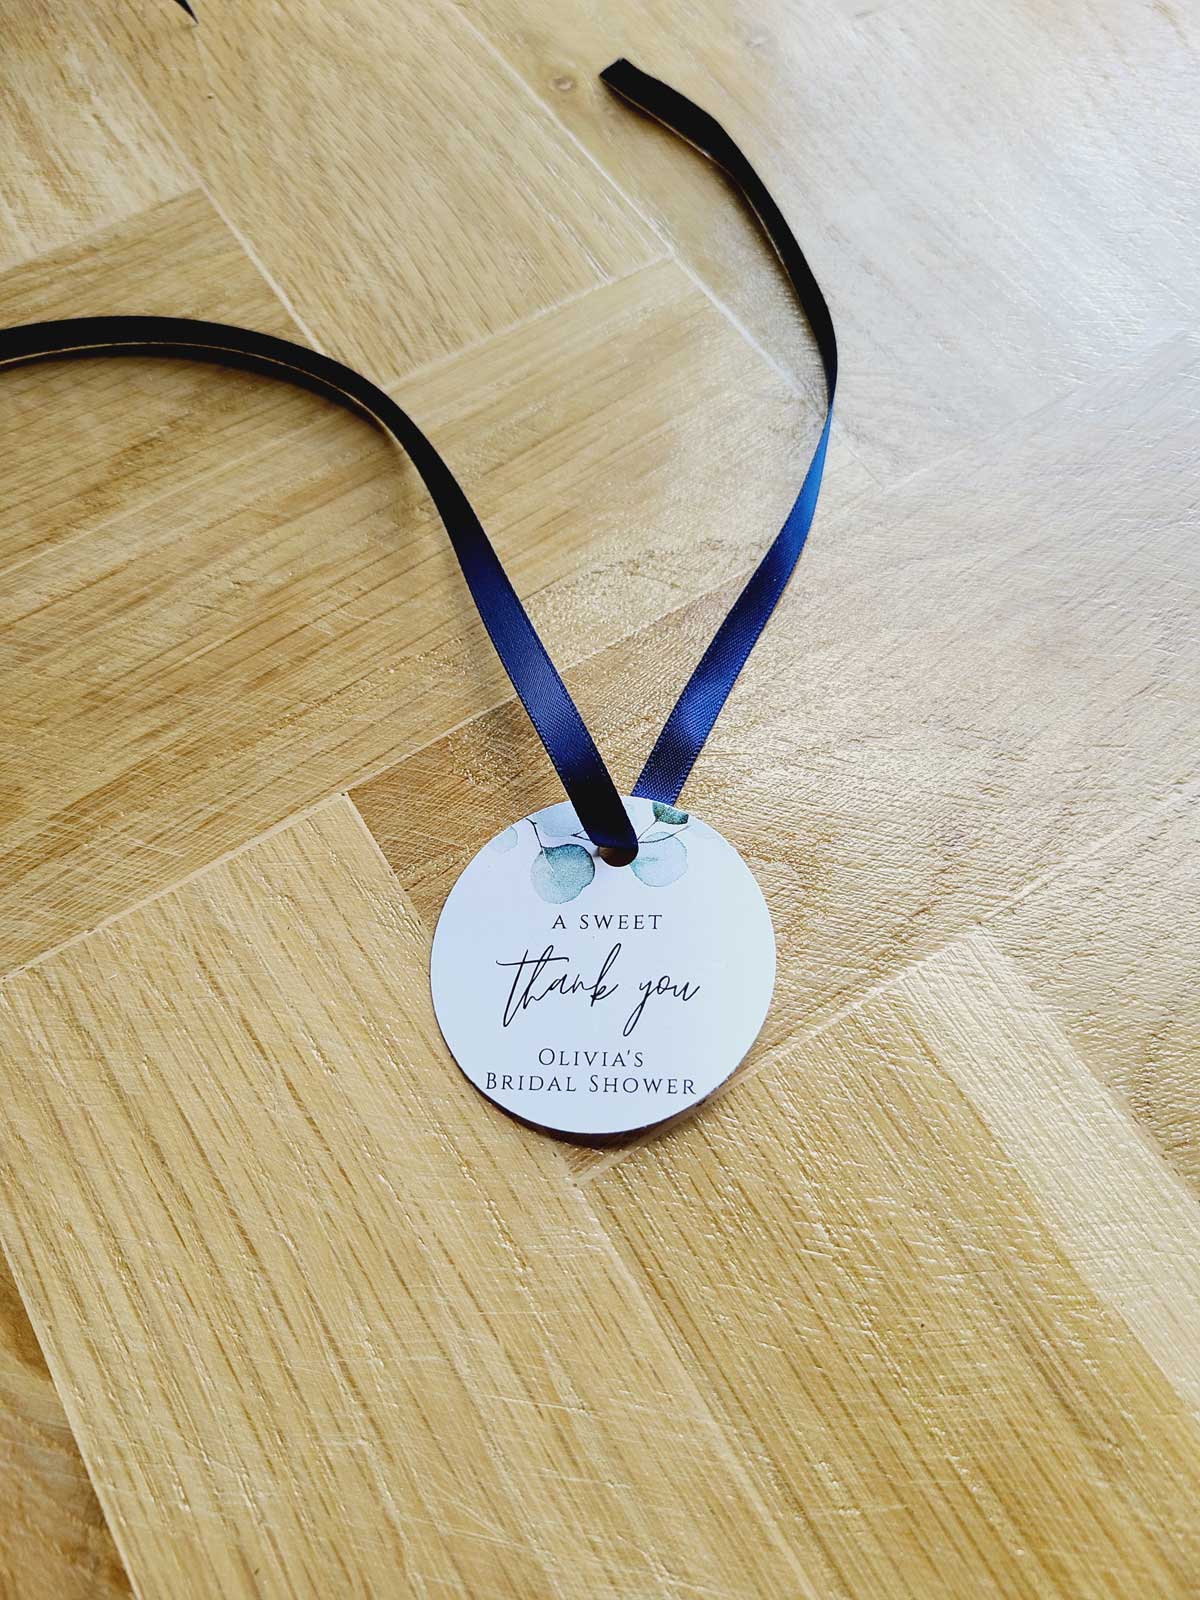
Add twine or ribbon.
Now your tags are ready to tie to your favors. Text one for length and then cut your ribbon or twine and tie your tags to your favors. It’s that easy.
Favor tags really are such an easy DIY project you can do at home to add a special, more personal touch to your favors. Whether for a wedding, baby shower, bridal shower or other special event, this little added touch is what makes your event memorable in the eyes of your guests.
We hope you’ve enjoyed this simple tutorial. Leave a comment and let us know. We have other tutorials planned and we’d love to know what you think!
Customer Service: M-F 9-5 EST
Closed weekends & holidays
We are not currently scheduling
in-person appointments.

Hours
Customer Service – Monday -Friday 9AM – 5PM – Online Only
We are no longer accepting in-person appointments.