You’ve purchased the perfect template to create the invitations for your event. You are excited about getting to edit the design yourself and make it your own. You know from the previous post how to access the template so you are ready to begin editing but you aren’t sure just what all you can do or how to do it.
The information below will walk you through some of the major editing tools inside Templett’s platform so you can make your perfect design even more special.
If you need help finding your template, see: How to Access your Templett Template after Purchase
Access Your Template inside Templett’s Platform
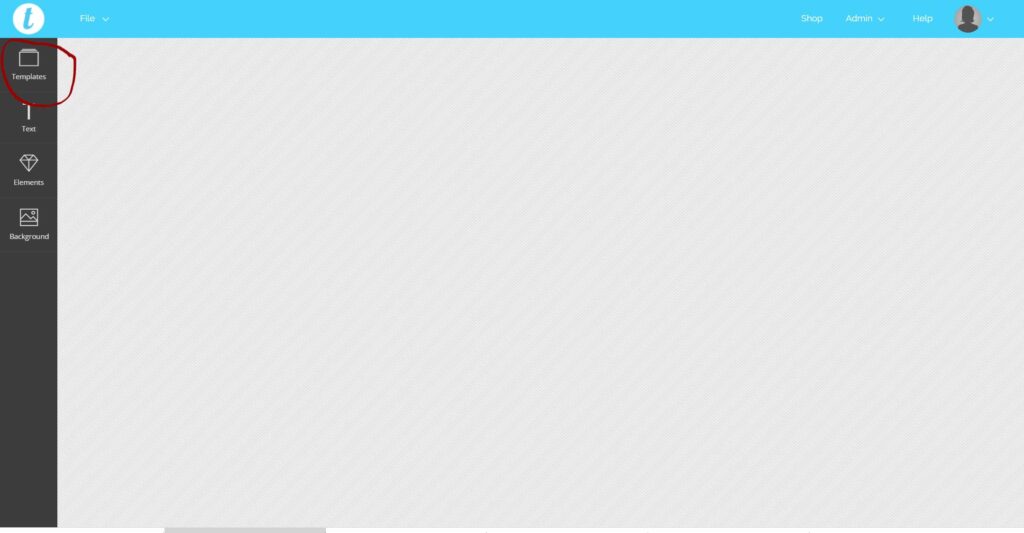
You are logged into your Templett account and you are faced with a blank screen. You may be worried that your template isn’t there but actually, Templett is set up so that you have access to any and all Templett templates that you purchase whether from Raspberry creative or any other shop.
If this is your first Templett template, you will only have access the one or set that you’ve purchased and you can only edit one at a time. To open simply click on the first icon in the toolbar on the left; the “TEMPLATES” icon.
Open Your Template
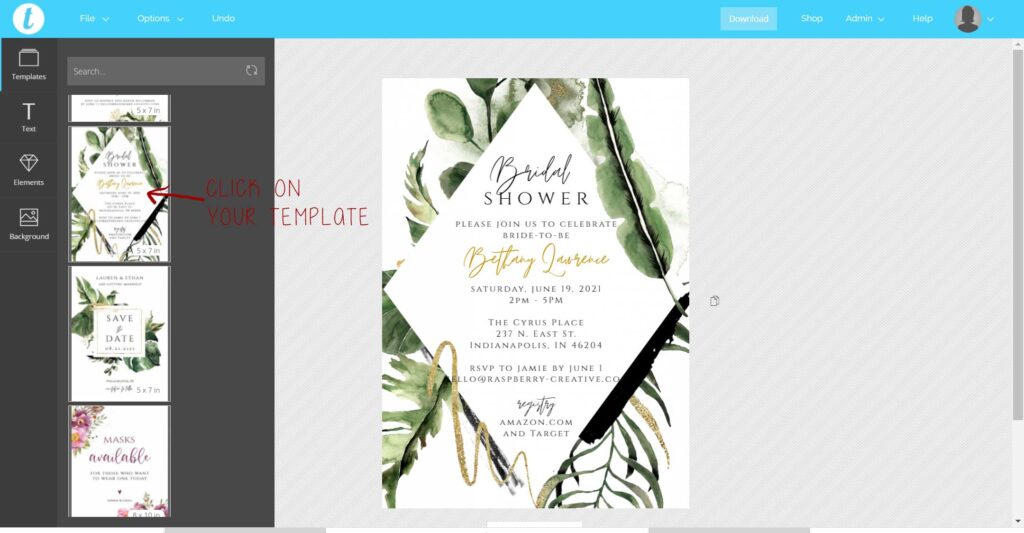
Once you’ve clicked on the Templates: icon, you will see the thumbnail of the template show up. If you have more than one template, they will all show up in this second menu like mine has.
To open, simply click on the template you want to edit.
Edit Your Text
As a graphic designer, I have found that it’s always easier to start with the text. By text, I mean all the wording. If you like the wording that is already there, then you will likely only need to change things like the name(s), event date, location, etc.
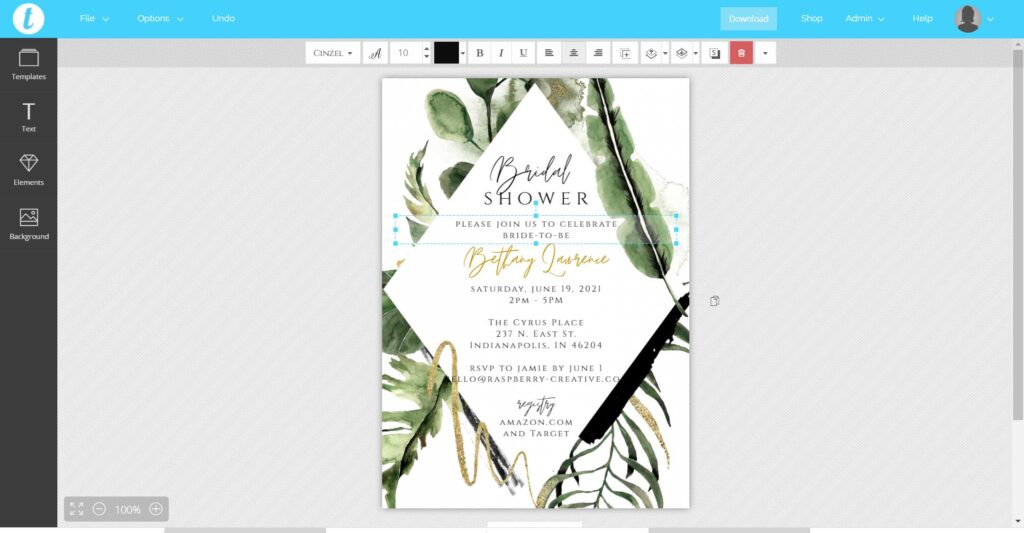
To edit the text simply click on a line of text and you will see a blue box. This shows you the text editable within that section. To edit, double click on the text inside the box and type the text you want. Don’t worry about formatting to start.
Depending on the template, you may need to edit text inside of several different boxes. Simply click on each grouping of text and edit as needed.
Resize the Text Box

Once you have the text typed the way you want it, you may need to adjust the size of the text box if your text has run on too many lines. To resize the text box, simply click on the text so the blue box appears and then put your cursor over one of the two middle solid boxes and side in or out as needed. Your text will automatically reformat to fit in the box as you adjust.
Change the Font, Text Size and Text Color
Once you have your wording in place, it’s easier to go back and reformat using the fonts, colors and sizes you want. Not all fonts are the same size so it’s best to get the wording in place first and then play around with the pretty details.
Change the font
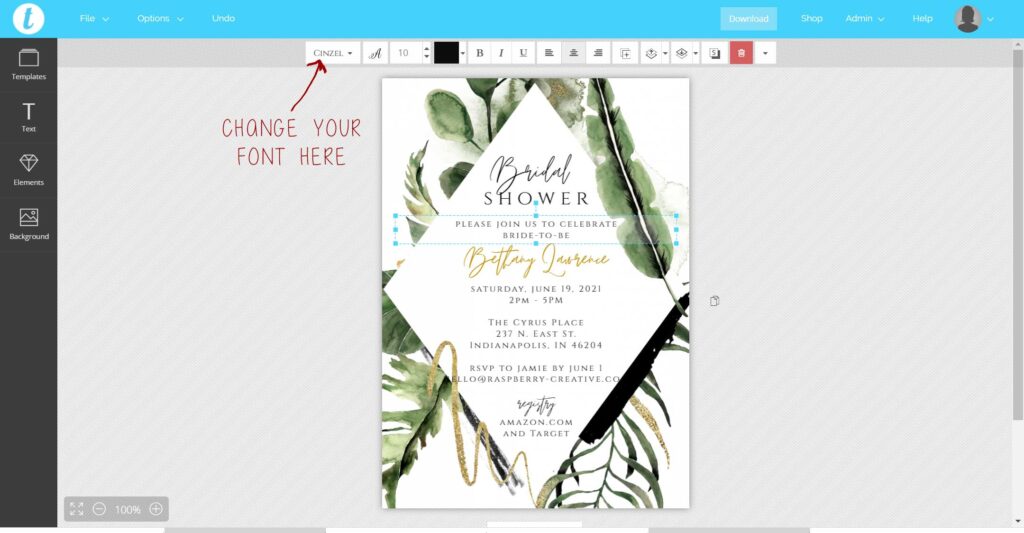
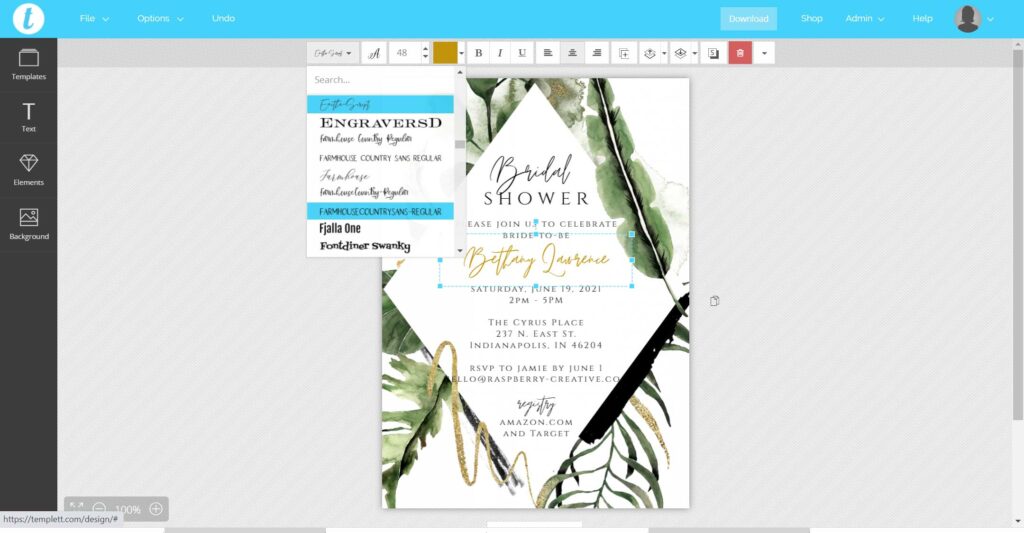
To change the front, click on the text you want to revise so that the dotted blue box shows up. Then go to the tool bar across the top of your screen and use the front drop down on the left. Scroll through all the fonts that we have made available for you and select your font.
Change the Text Size
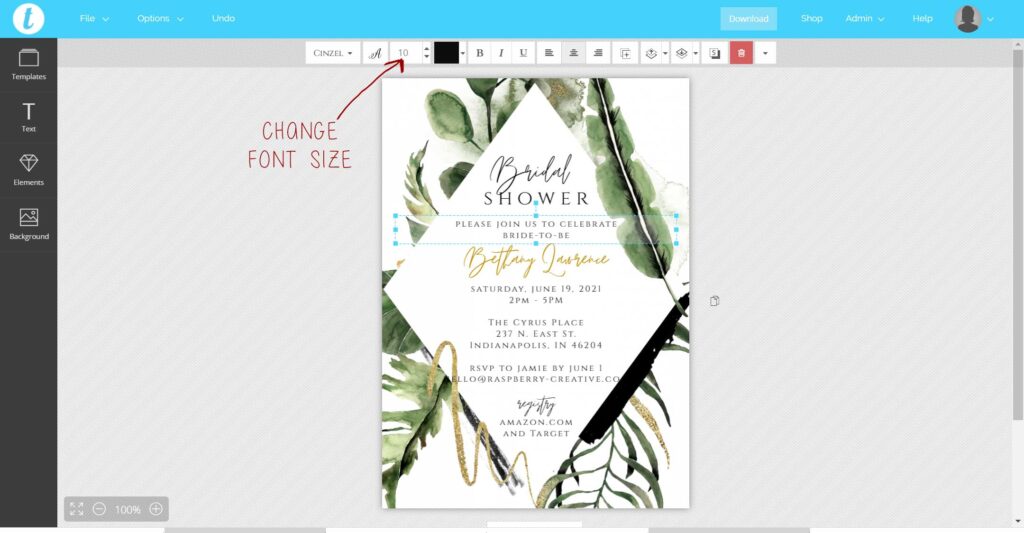
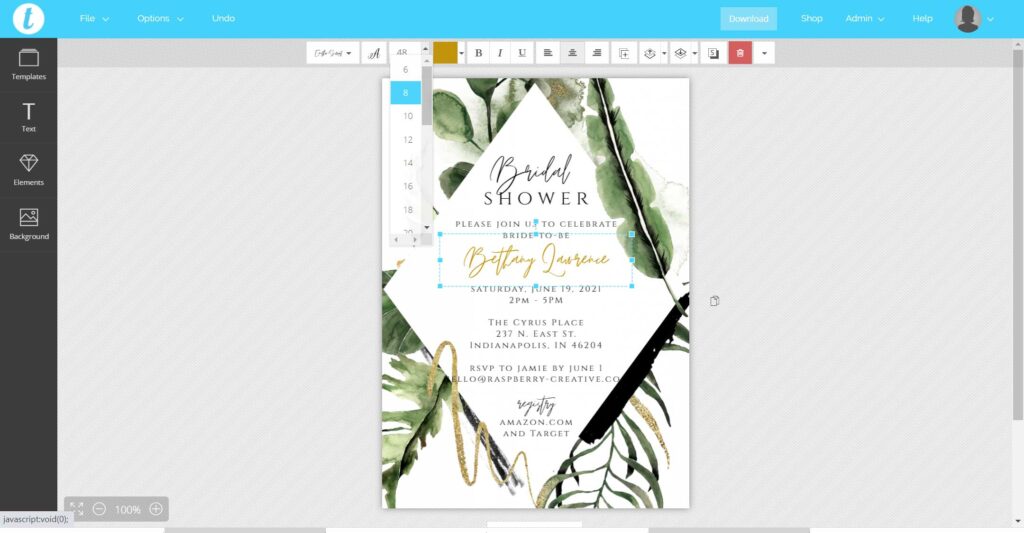
Once you have your font chosen, you may need to change the font size so the text fits into the space. With your text highlighted (and the blue box visible) go to the third tool in the upper toolbar and use the drop down to select a new font size. You may have to play around with this a little bit to get it just right.
Change the text color
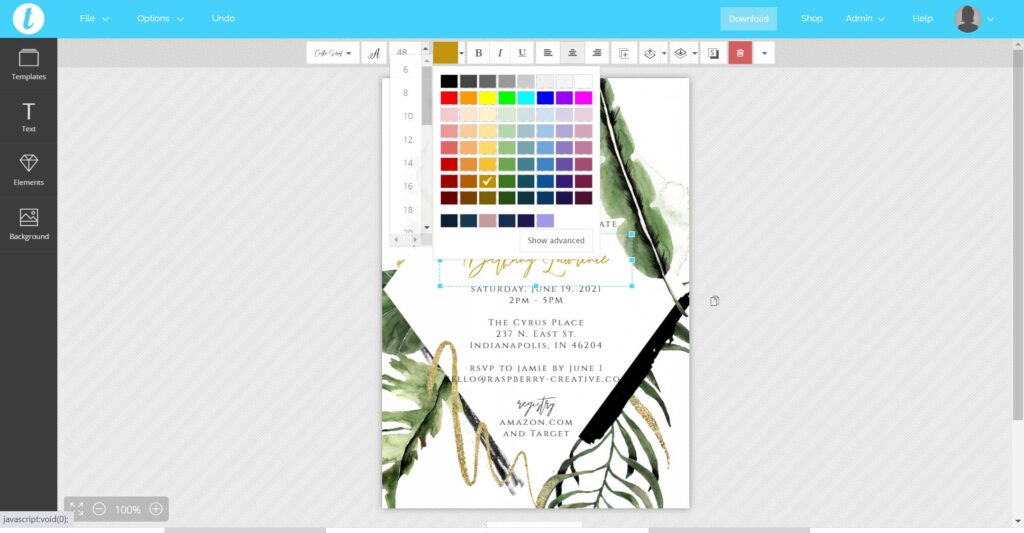
Now that you have your perfect font and size chosen, you may want to change the text color. Again, wiht the text selected adn the blue box visible, go to the upper toolbar again and select the color box and select the color you want to use.
Additional Text Options
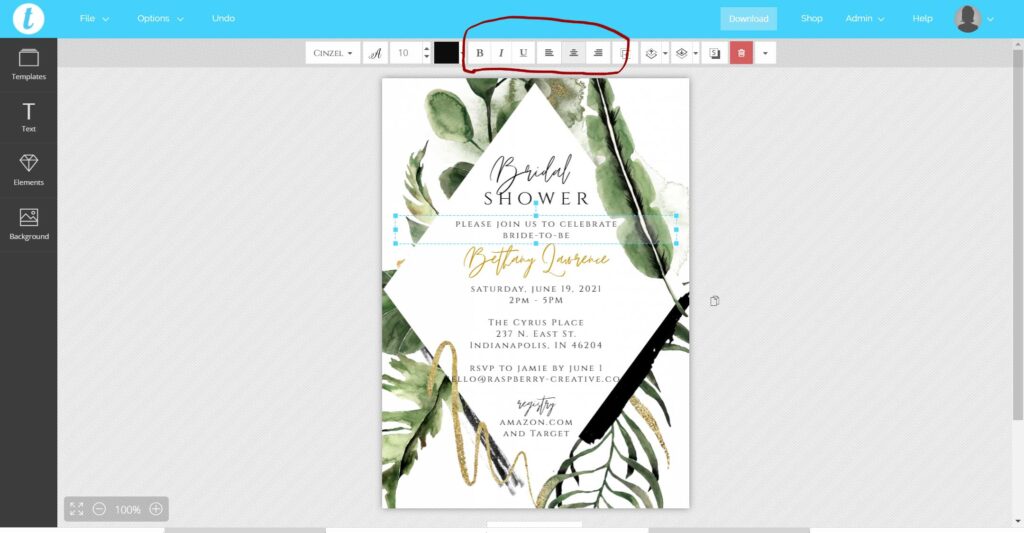
Similar to any word processing program, you also have the option to make any text Bold, or Italic or underline and format the alignment to the left, center or right.
You can also change Text Case, Line hight, character spacing and more by using the “down arrow” on the far, right size of the upper toolbar for even more text control.
Add Additional Text
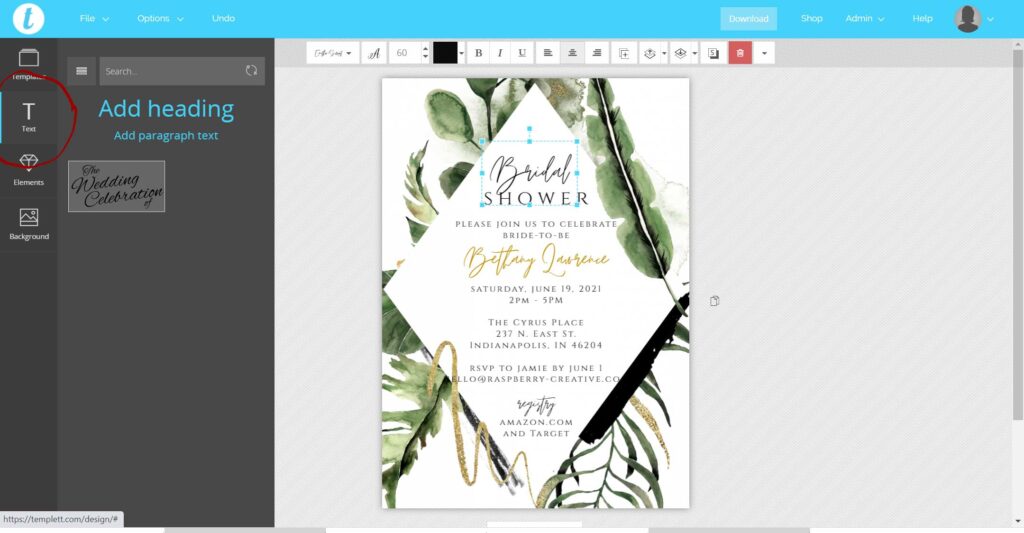
Depending on your template, you may need or want to add additional text. To do this, you can use the text tool on the left menu. I personally like to use the “HEading” option because text added using this option can be made larger and smaller by dragging on the solid blue boxes in the corners of the text box.
Add A Back Side
Depending on the template(s) you purchased, your template may or may not have come with a pre-designed back side. If your template does not already have one, we have purposely designed just about all of our templates to have the option for you to add a back size even if one doesn’t exist already.
To add a back side, simply click on +Add Blank Page button below the template to add a back side. A new, blank page will be added directly below your template.

You can actually use these as a back size or as a companion card to the primary. These files will download as separate files so don’t be afraid to get creative!
Add New Elements
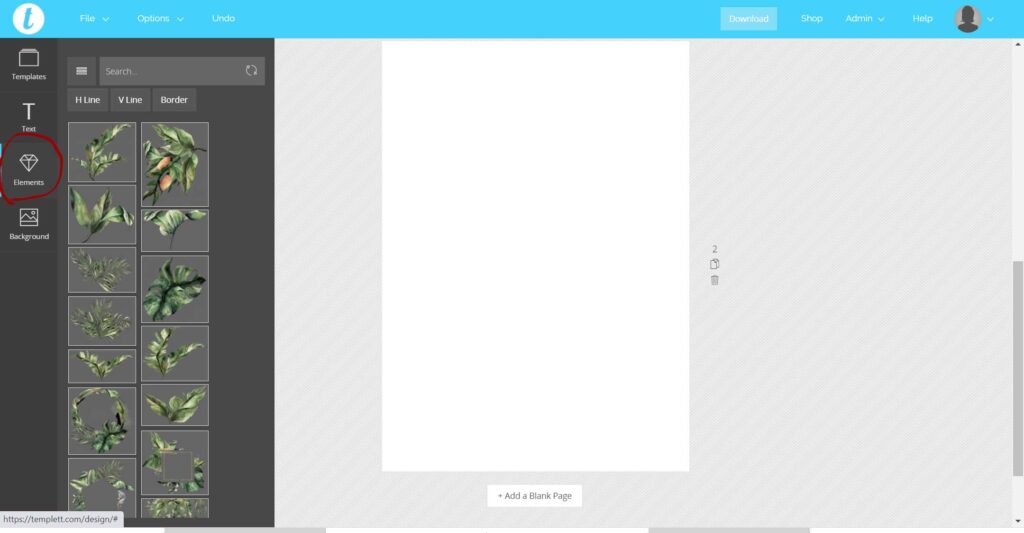
Your Template will come with the elements included with your template and nothing extra. You will not have access to RCs full library of graphics but you can add new elements yourself if you want. THis is great if you have a wedding logo you want to incorporate or if you want to include an engagement photo or anything else. This is where Templett is great for those really wanting to personalize their template.
This is a great feature to use in conjunction with the back size option explained above. Using my Save the Date example, you may want to add an engagement photo to the back of the save the date card. To do this you click on the “Elements” tool on the left toolbar.
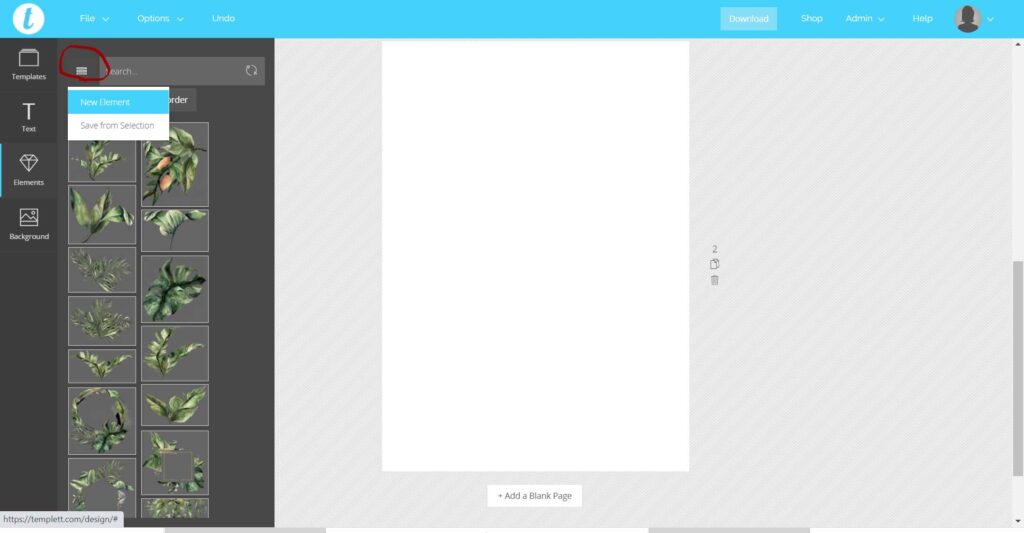
This will open the elements options. Click the “3 bar” option in the upper left corner and click “New Element” then find the photo or graphic you want to use and upload it. You will need to give it a name and then click “add”.
Once it’s uploaded, click the “Elements” tool again and you should see your photo or graphic in the menu options. To add it to your design, click on it and it wll automatically load into your template.
PLEASE NOTE: Make sure the page you want to add your photo to is the active one. The photo or element will load onto which ever page is active. If it loads to the wrong page just click on it so the blue box is visible and click “delete”.
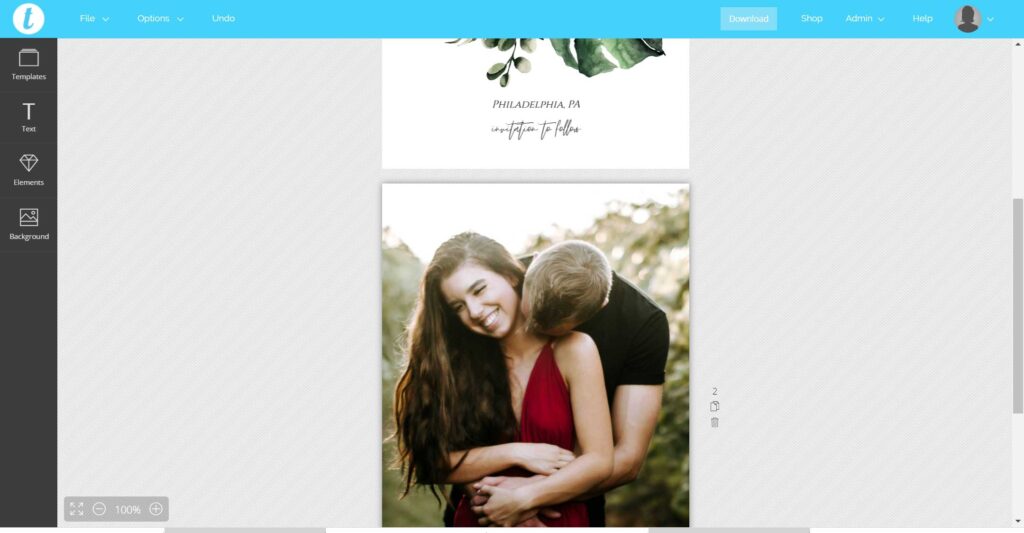
Once your photo is loaded, you may need to move it around or resize it. To move, just use your mouse. To resize, find the blue border and slide in or out on any of the solid blue boxes in the corners. You may need to play around with this to get it just right.
Add / Remove a Background
Depending on your vision for your template, you may want to add, change or remove your template’s background.
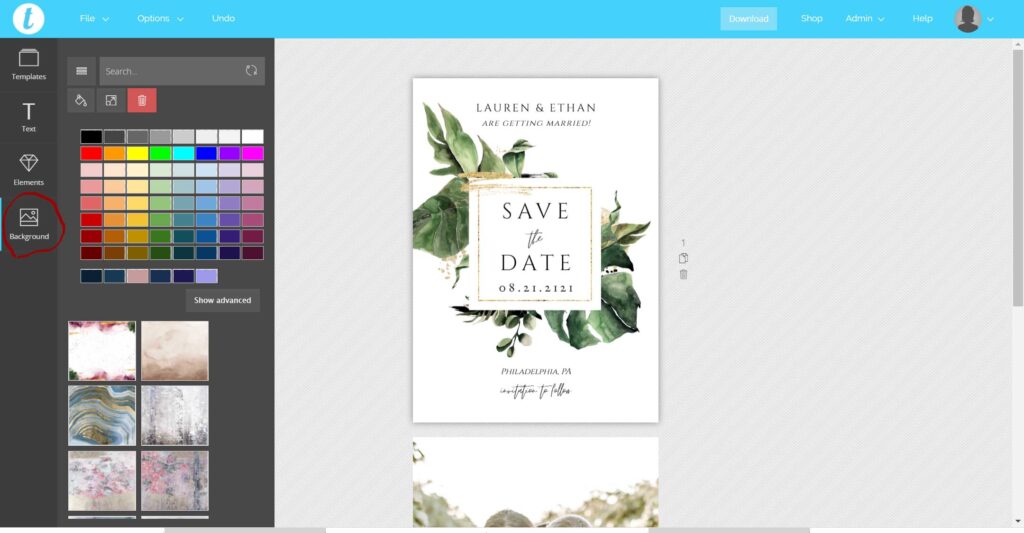
To add or change the background, start by making sure the page (if front and back) is highlight that youw ant to edit. For this example, I am using the front of my save the date.
Then, go to the “BAckground” option in the left toolbar.
You can pick a solid color for your background or you can pick from patterns and faux textures. The solid colors are at the top and the patterns and faux textures are below. You may not have as many options as I do here but don’t be afraid to experiment. If you want to try something, just click on your choice and see it automatically change in your design.
If you don’t like what you have chosen or if you want to remove the existing background, simply click the “delete” / Trash Can button inside the background menu.
——–
Hopefully this quick walkthrough of many of the editing options inside Templett will not only help you easily edit your template but inspire you to really make it your own.
There are more features available to you inside Templett but we think these are the most important. I encourage you to play around with all the tools to find what looks best to you.
As always, if you have any questions about editing your Templett template, you can always contact the shop for more help.
The next post in this series will walk you through downloading your template once you are happy with all the editing. Until then, happy template editing! Read Now >>

Leave a Reply